
Who This Is For
This guide is for people who are opening GitHub for the first time and want one reliable path from a local folder to a real remote repository. You do not need to understand every Git concept before you start. If you follow the steps in order, you will finish a complete flow: create a GitHub repository, connect your local project, and push your files for the first time.
What You Will Do
- Create a new repository on GitHub.
- Connect a local project to that remote repository.
- Complete your first
git push. - Learn the small daily workflow you will use most often afterward.
Before You Start
- You need a GitHub account you can sign in to.
- You need Git installed on your computer.
- You need a local folder. It can be empty or already contain your project files.
Check that Git is available before you continue:
git --versionIf your terminal prints a version such as git version 2.x.x, Git is ready. If the command is missing, install Git first and then return to this tutorial.
[!tip] This article demonstrates the remote URL with HTTPS because it is the most direct option for beginners. If you already use SSH, you can replace the remote URL with your own SSH address and keep the rest of the workflow the same.
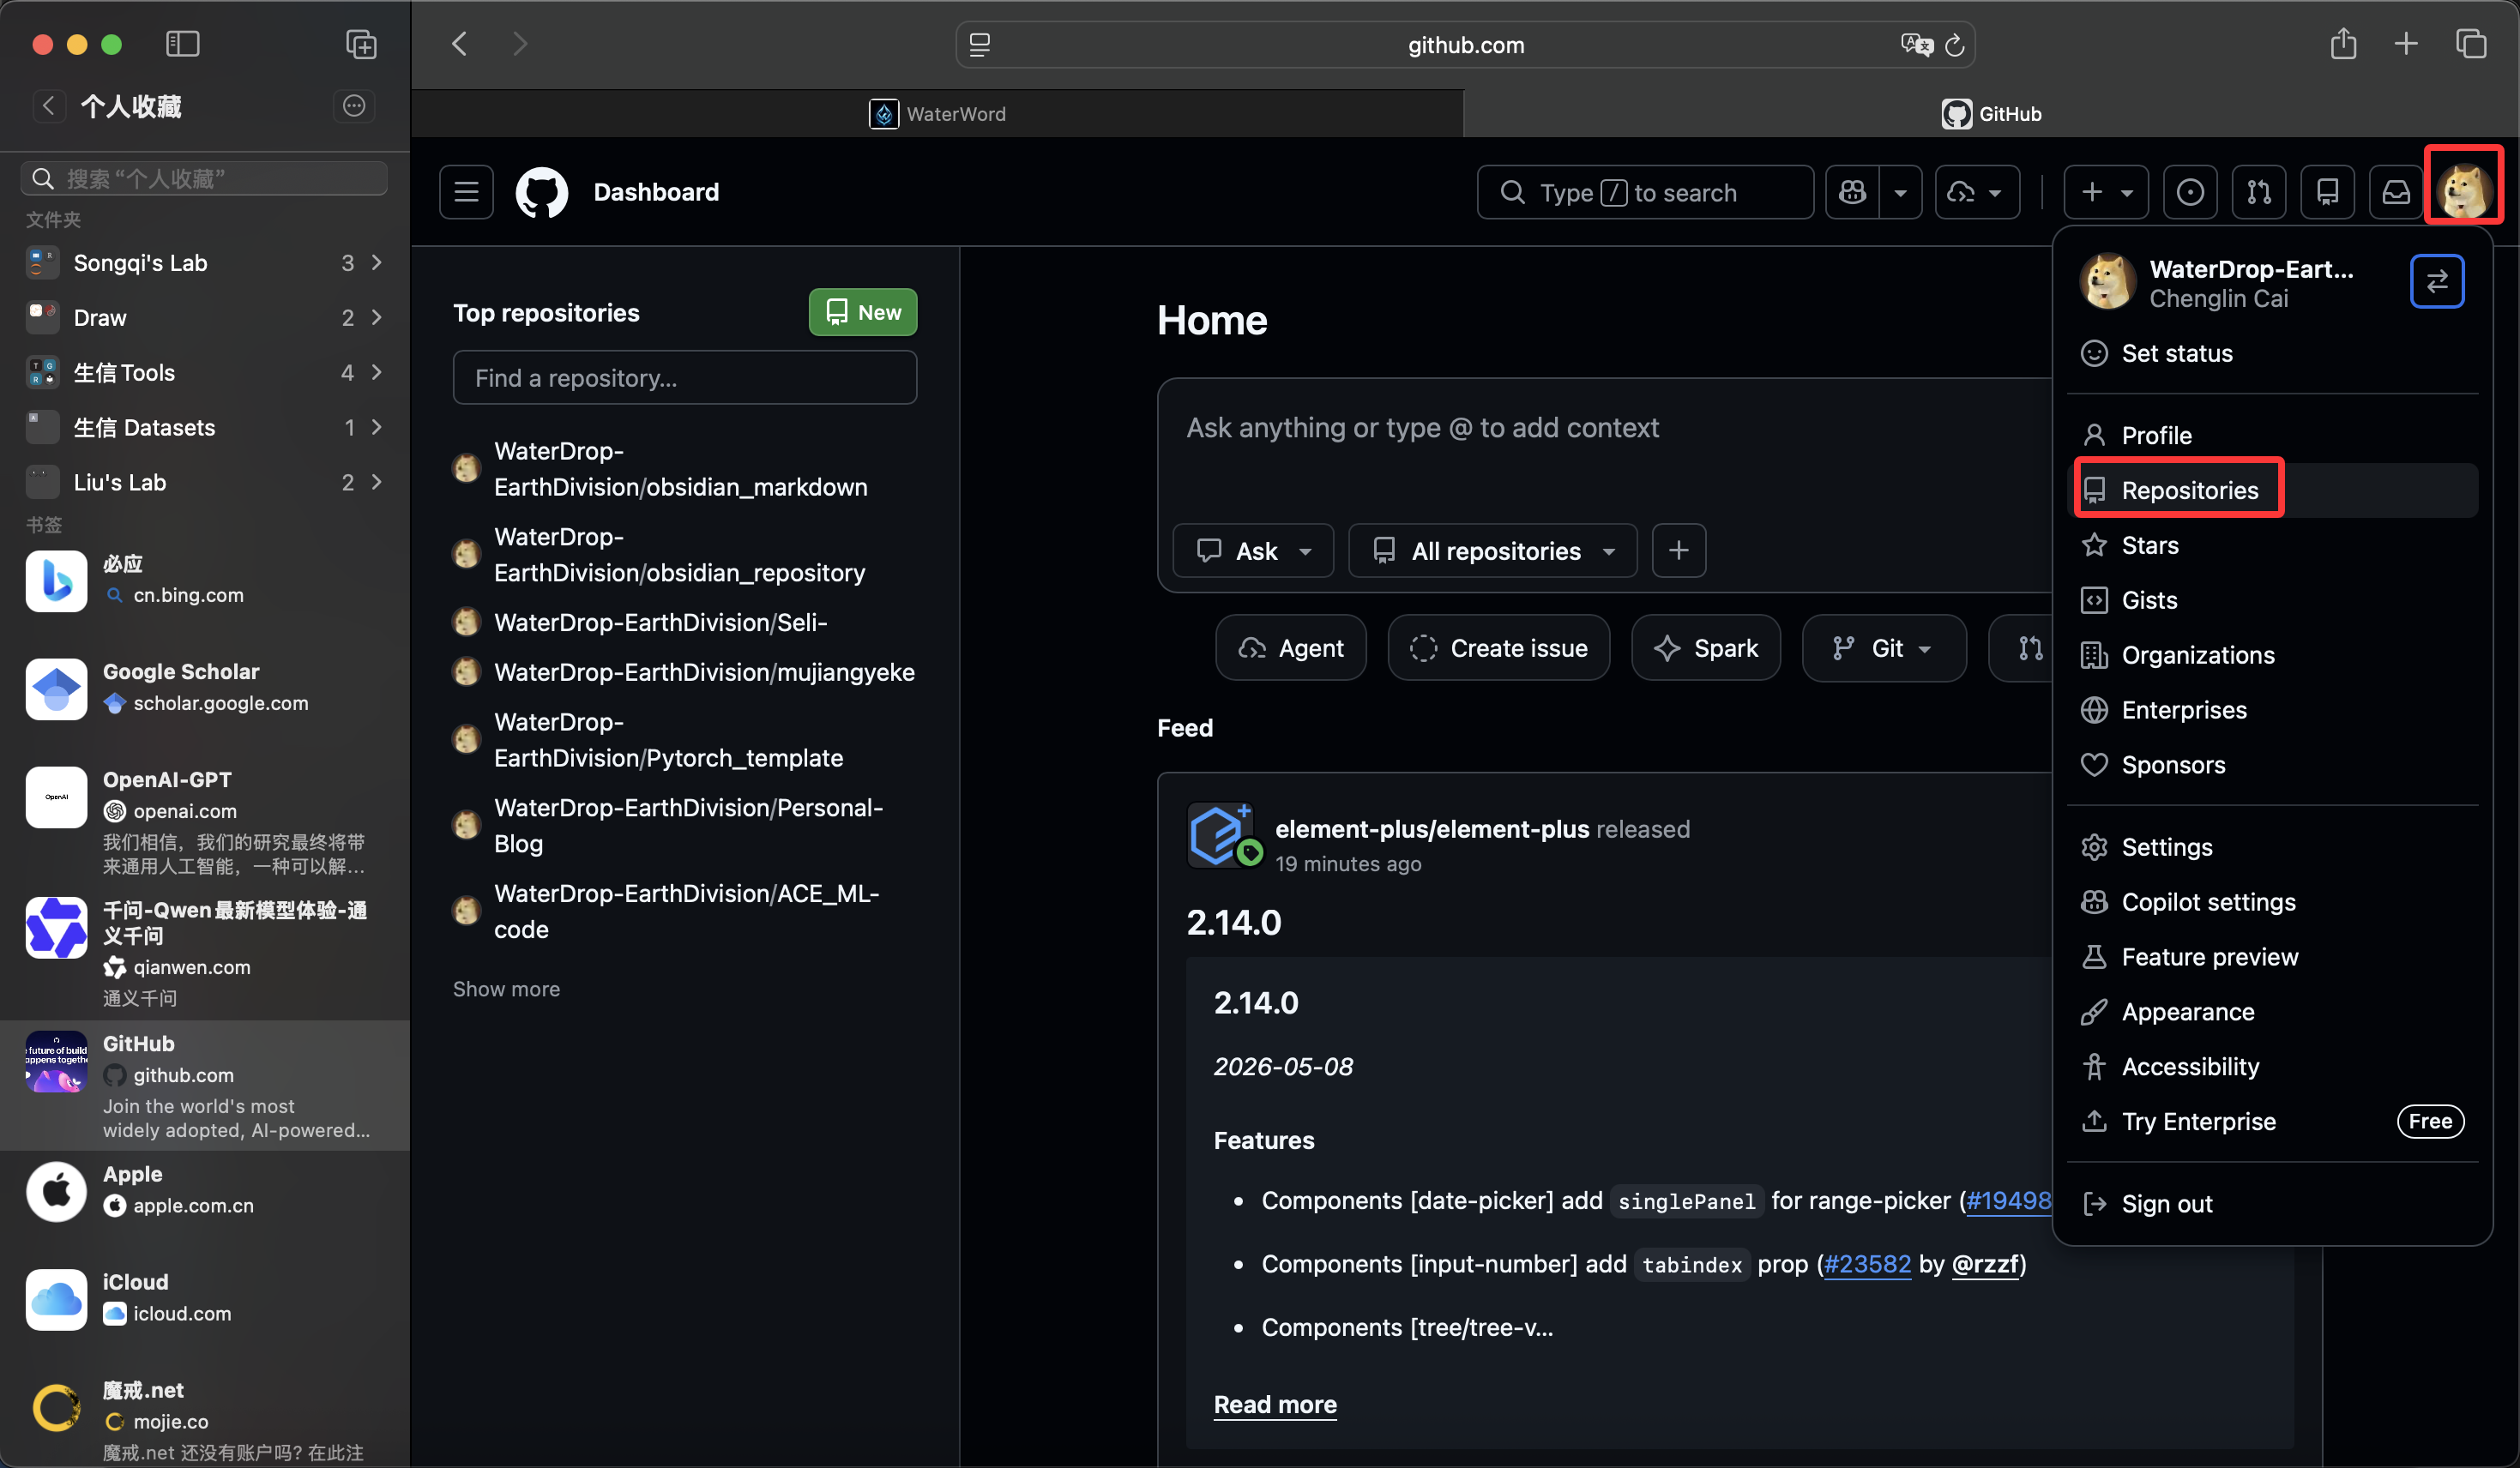
Step 1: Open Your Repository List on GitHub
After you sign in to GitHub, click your avatar in the top-right corner and choose Repositories. The goal of this step is simple: you want to reach the page that lists your repositories, because that is where GitHub places the button for creating a new one.
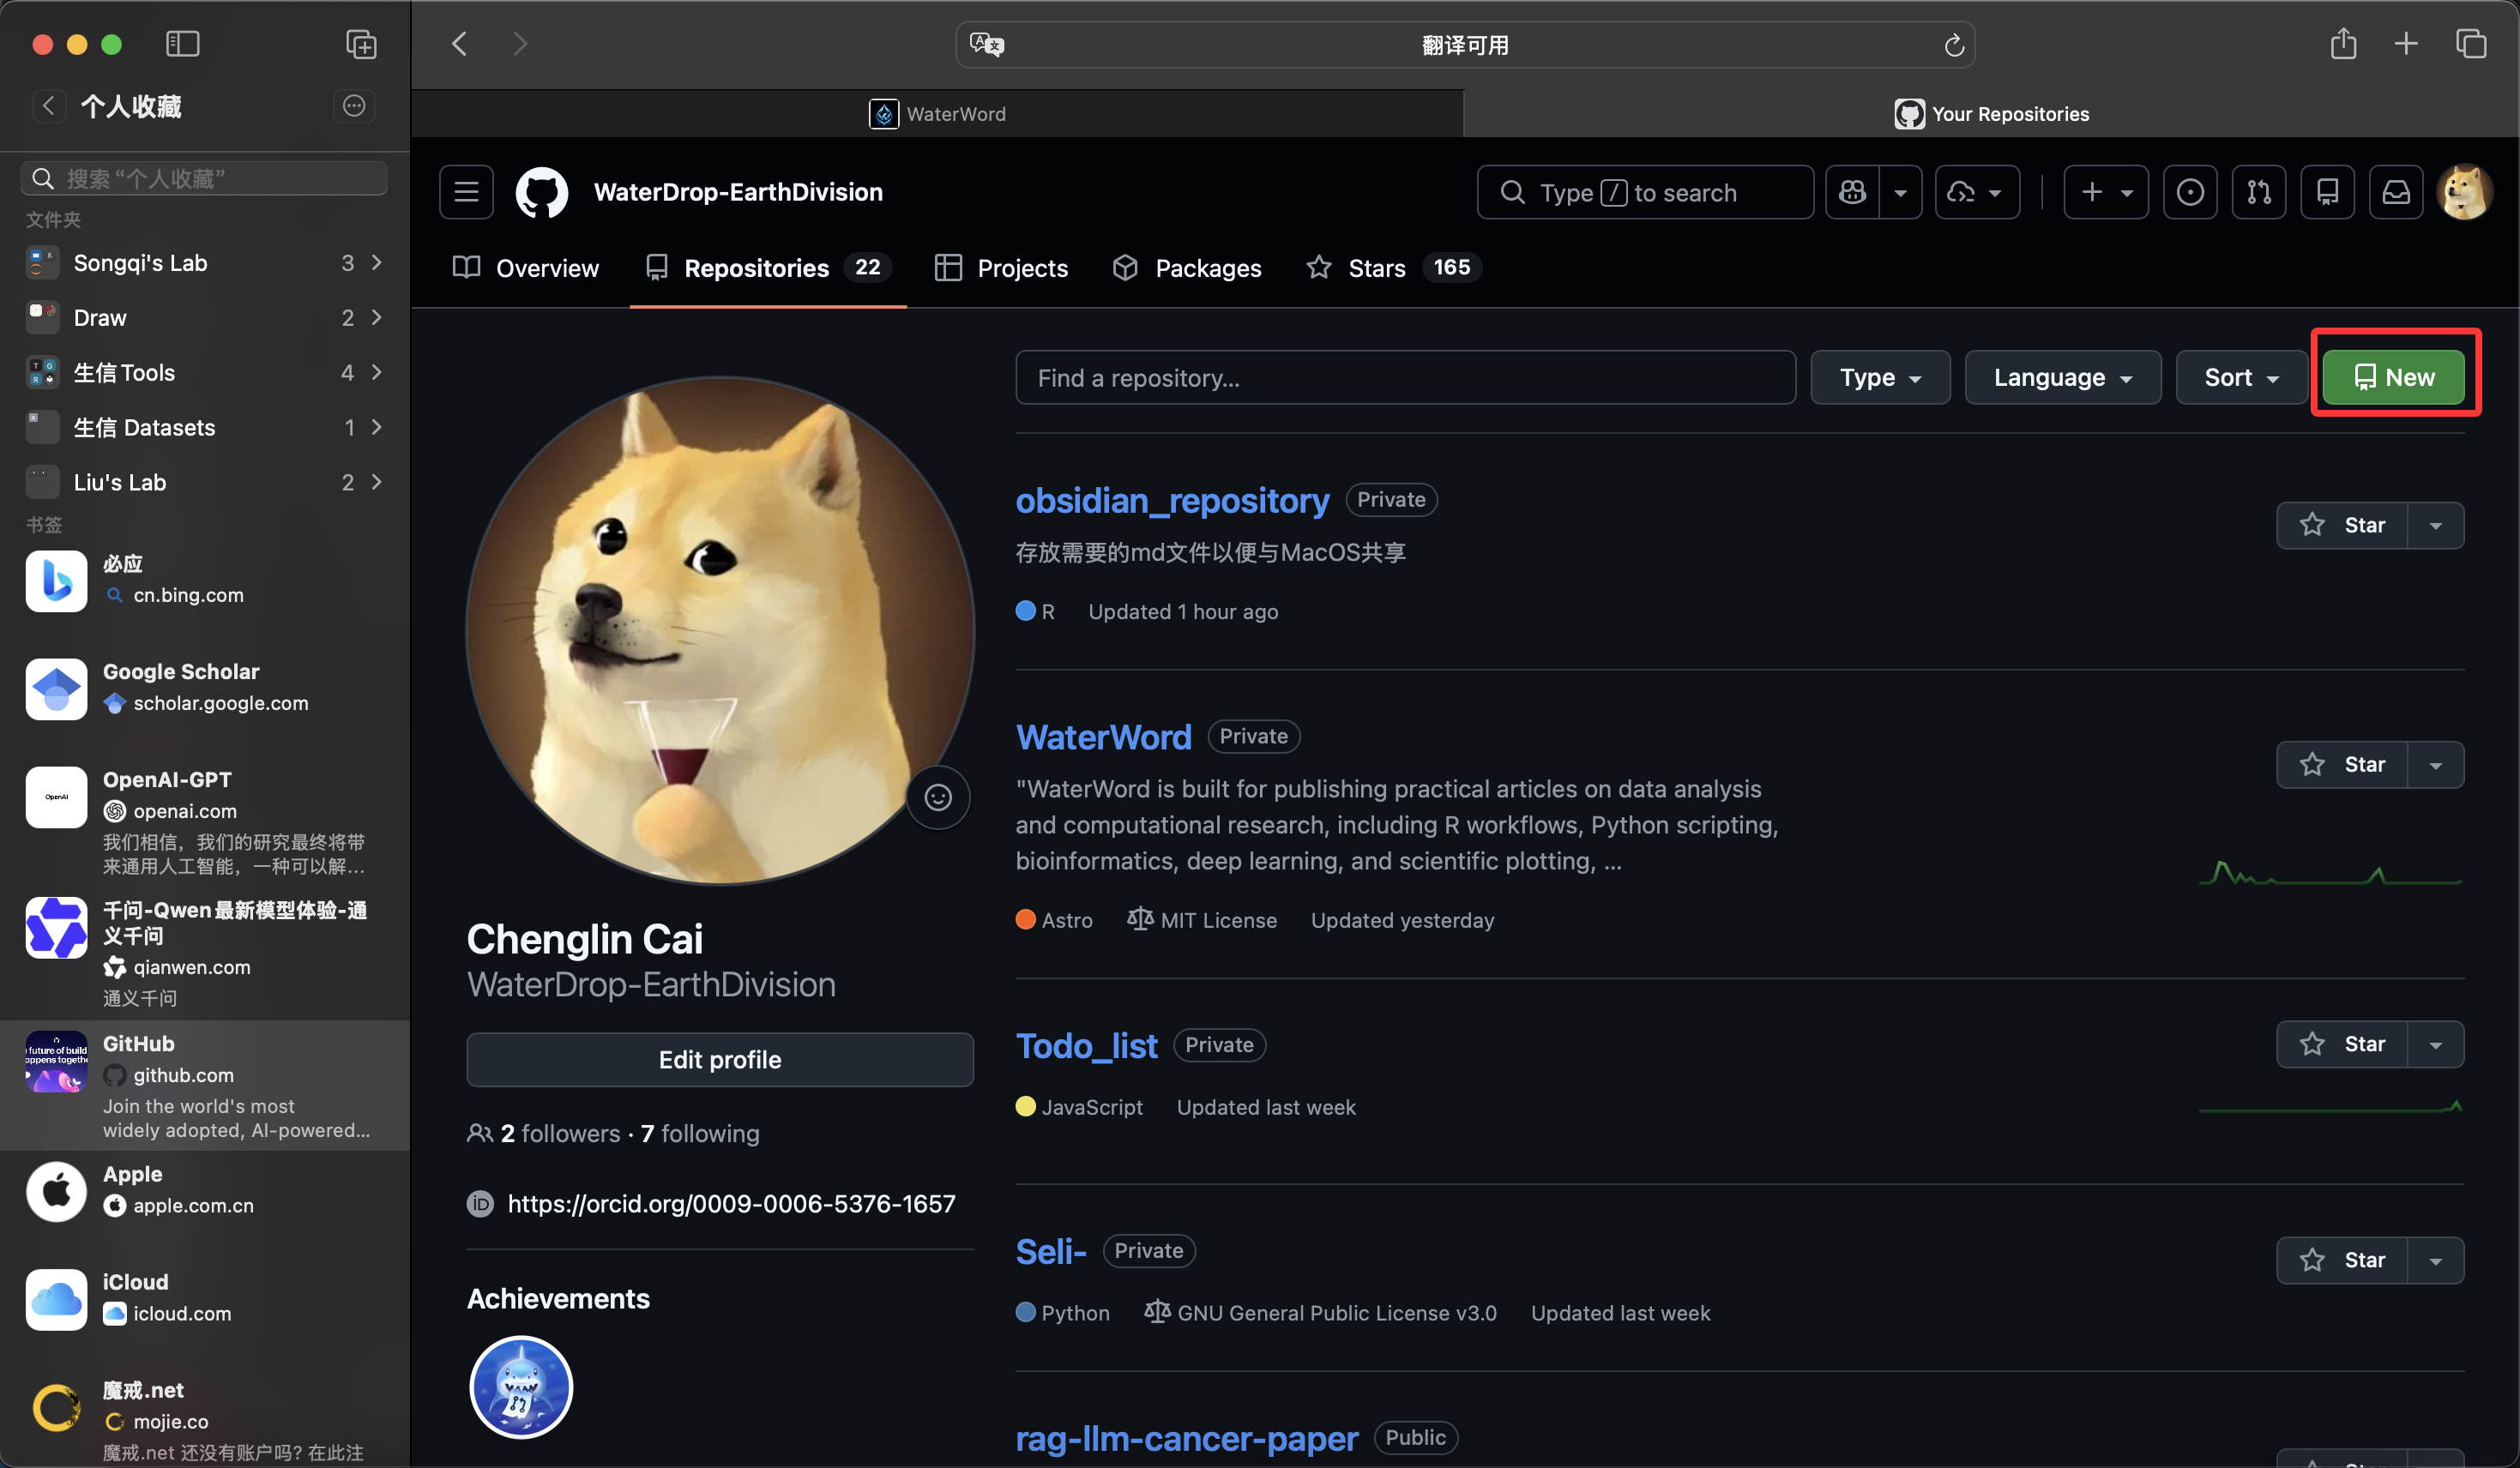
Step 2: Click New to Create a Repository
On the Repositories page, click the green New button on the right side. If you can see the repository list and the New button, you are already on the correct page.
Step 3: Fill In the Repository Details
On the New repository page, fill in at least these fields:
Repository name: a name such asmy-first-repoDescription: a short note about the repositoryChoose visibility: choosePublicorPrivate

If you plan to push an existing local project to GitHub, it is usually easier not to pre-create extra files such as README, .gitignore, or license on the GitHub side. That keeps your first push simpler and avoids an unnecessary merge step.
When you finish, click Create repository. GitHub will open the new repository page, and the next step is to connect your local folder to it.
Step 4: Connect Your Existing Local Project
Open the local folder you want to upload, then run these commands:
git init
git add .
git commit -m "docs: initialize local project"
git branch -M main
git remote add origin https://github.com/<your-name>/<your-repo>.git
git push -u origin main
What each command does:
git init: turns the current folder into a Git repositorygit add .: stages the files in the current foldergit commit -m ...: creates your first commitgit branch -M main: standardizes the branch name asmaingit remote add origin ...: tells Git which remote repository to usegit push -u origin main: pushes the localmainbranch to GitHub for the first time
After the commands finish, refresh your GitHub page. If your local files appear on the site, the connection worked.
[!tip] This is the most common first-upload workflow when the folder already contains a real project.
Step 5: Use the Daily Update Workflow
Once the repository is connected, this is the daily command set you will use most often:
git pull origin main
git status
git add .
git commit -m "docs: update article"
git push
Read the order like this:
- Start with
git pull origin mainto bring in the latest remote changes. - Run
git statusto see what changed locally. - Use
git add .to stage the files for this update. - Use
git commit -m ...to describe the change. - Finish with
git pushto send the update to GitHub.
If these five commands become familiar, you already have a solid basic GitHub workflow.
Step 6: If You Start from an Existing Remote Repository
If the repository already exists on GitHub and you just want to download it and start working locally, clone it first:
git clone https://github.com/<your-name>/<your-repo>.git
cd <your-repo>
git add .
git commit -m "docs: update repository content"
git push
git clone creates the local directory and connects it to the default remote name origin automatically. After that, you can edit files, commit, and push from inside that folder.
How to Confirm It Worked
git statusno longer says that the folder is not a Git repository.- After the first
git push, you can see your files on the GitHub repository page. - After later edits and another
git push, the GitHub page updates as expected.
If all three checks succeed, your local repository and GitHub repository are connected correctly.
Common Questions
Why not teach many push methods at the beginning?
Because beginners usually need one stable main path first: create a repository, connect the remote, commit, and push. Once that path feels natural, concepts like branches, rebase, and conflict resolution become much easier to learn.
What are origin and main?
originis the default alias for the remote repository.mainis the default primary branch name in many repositories.
Can I use an SSH URL instead?
Yes. If your SSH key setup already works, replace the HTTPS URL with your own SSH remote URL and keep the remaining commands the same.
Commands to Use Carefully
[!warning] The commands below rewrite history or override content. They are not part of the beginner happy path. Use them only when you clearly understand the consequences.
git reset --hard <commit>
git push origin <commit>:main --force
git reset --hard <commit>moves your local working tree back to an earlier commit and can discard uncommitted changes.git push ... --forcerewrites remote history and can affect other collaborators.
If your goal is only to download the latest changes and continue working, stick to the daily workflow above instead of these high-risk commands.
Review Score
Score: 93/100 Verdict: This draft is ready for human review and is strong enough for a beginner-facing publishing queue.
展开解析
Score Breakdown
- Accuracy: 24/25. The repository creation flow, local initialization commands, and first-push path are aligned.
- Beginner friendliness: 24/25. The core terms are explained clearly, though a future publish pass could add one more sentence about choosing HTTPS vs SSH.
- Reproducibility: 23/25. The commands, checkpoints, and placeholder format are explicit, but the reader still needs to replace the repository URL manually.
- Professional judgment and risk handling: 22/25. High-risk commands are separated into a warning section instead of the default workflow.
Review Notes
- This draft is ready for the publishing queue.
- Before publishing, manually confirm the repository URL example, the default branch name, and your final publish toggle.
```
Personnel
- ✍ Creator: Chenglin Cai
- 🤖 AI Collaboration: ChatGPT
- 🧪 Data Provider: Chenglin Cai
- 💻 Code Contributor: ChatGPT